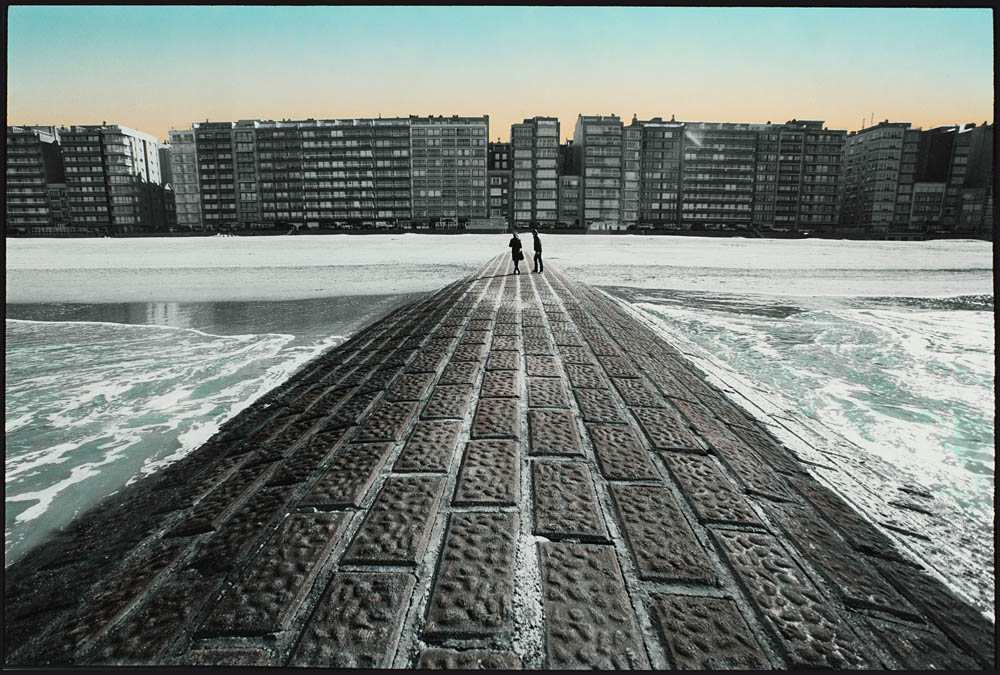
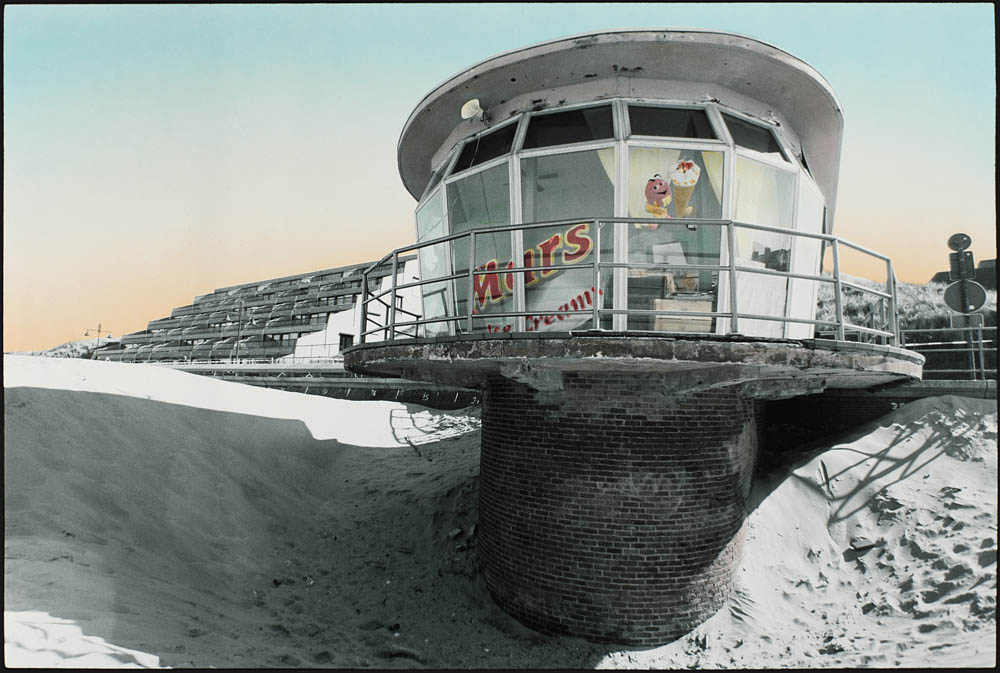
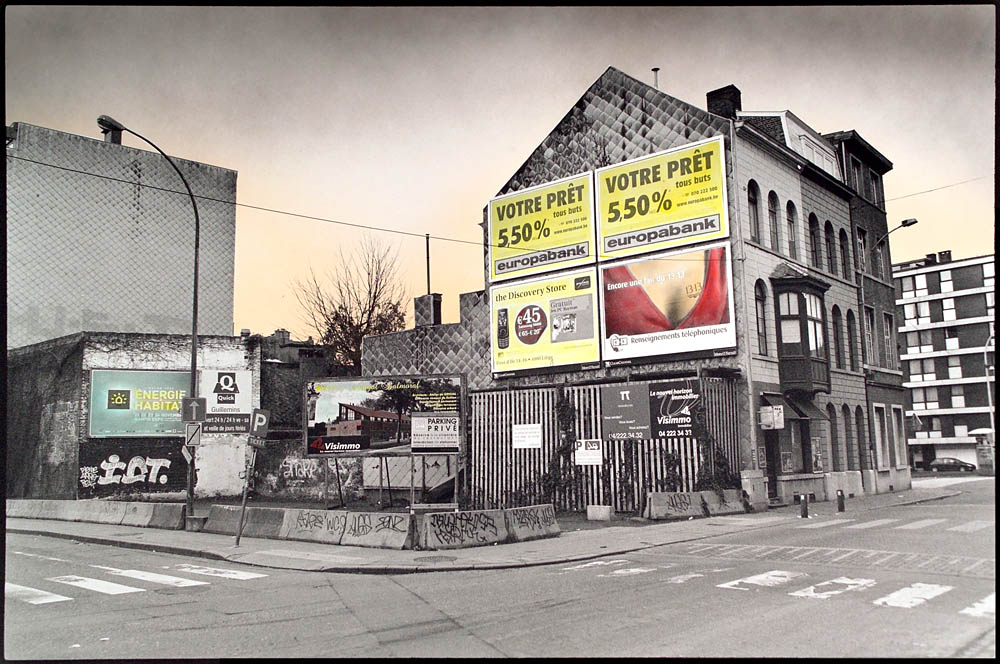
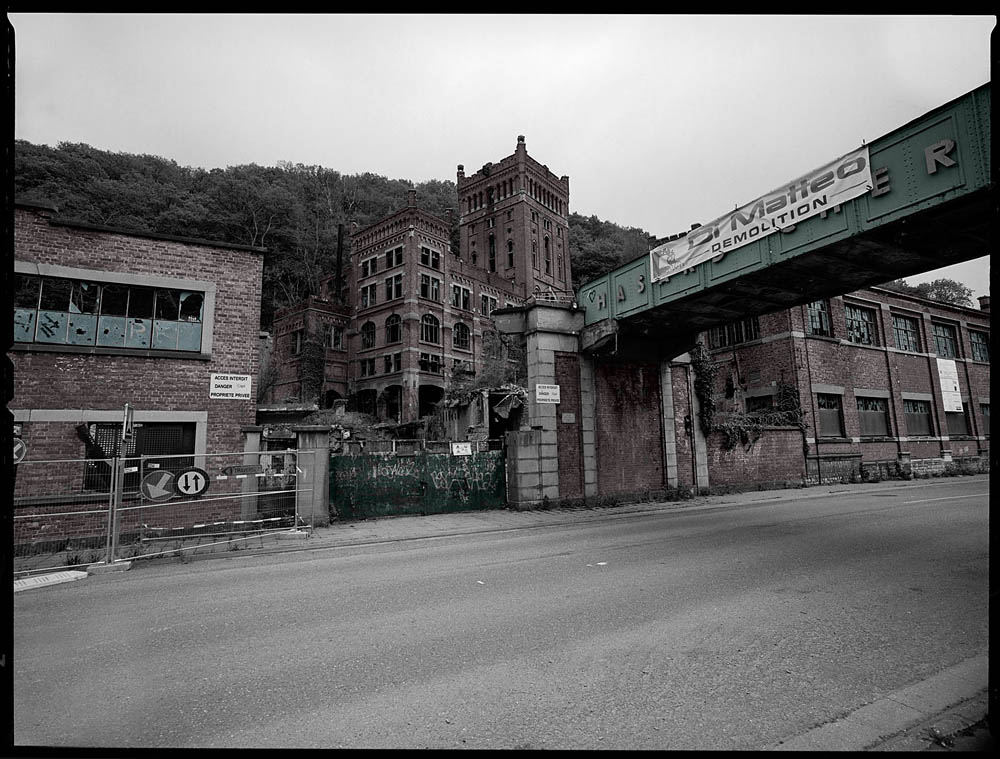
Colorizing black and white images is a very old technology. It began with the desire to correct early "colorless" photographs manually. When color photography was still not common, it was necessary to give a helping hand to obtain a color picture that looked photographic. These early colorations are often technically very well done and in some pictures you really have to look twice before you discover the hand-painted color.
I have always been fascinated by the smooth transition between the lens photography and subjective crafts in those old hand-colored images. Basically, these early retouches were the first of its kind in manipulating photographs, which today is made with endless possibilities in Photoshop & Co.
How do you colorize black and white photographs?
For colorization of black and white photos are protein-based glazing paint the best, which - contrary to popular rumors – is still available for purchase (see links at end of the article). With a few basic colors and possibly one or two skin tone colors you can easily start experimenting. The colors are very concentrated, you only need very little color, which is then diluted with water. Raw colors are too intense and the colors and surfaces can not be accurately determined.
One should invest in good brushes, preferably of sable - a very small, fine brush for details, a mid-size and a larger. As palette for dilution and mixing of colors, you can use a transparent glass plate that you place on a white background.
Protein-based glazing paints are - as the name suggests - glazes. This means that they do not cover and can not make dark areas brighter. Therefore, the sections that will be colored, should if possible be a little lighter and have slightly more contrast than normal black and white areas. After coloring, the images become darker and they win half tones that can be controlled and weighted with appropriate starting material.
Since the transparent color increases in strength when applying several layers, it is advisable to start with a color mixture that contains a great deal of water and small part color. Adding color is always possible - but if you once have applied too much color, it can no longer be corrected. You have to develop a feeling for when it is time to stop. It is often better to use one color at a time between the drying times, especially in adjacent regions. You start with a specific area, first with a "water puddle", and then you add the diluted color gradually, much like watercolor painting. Advantage: the "puddle" distributes the color well and the staining will be smooth without brush strokes.
If the surface then dries, you can treat the adjacent area with the same technology - then nothing can go wrong!
Many photographic papers work even better if the photo layer is wet. This avoids sharp edges and staining of the area will be much smoother. It is best to work with a kind of watercolor technique - carefully and with patience ,and at the beginning with artifical (PE) – paper material. Baryte paper is more difficult to colorize. This is best done when the paper is still wet, but not dripping. Then use an old towel or cloth and put on top of the paper dry in a drying press. In a high-gloss drying, unwanted streaks can easily occur or the colors bleed out, because the images are wet and the image side is pressed against the dryers glossy steel plate.
For my pictures, I work occasionally with an airbrush - this is a very useful technique for skies and other uniform surfaces. For irregular surfaces, or textured surfaces, I'd rather recommend to first wet with clean water and then apply the paint (diluted) with a cotton swab. This allows the color surfaces to look lively and saves covering work.
For the covering of picture surfaces one can use very affordable bookbinder foil that can be purchased in paper stores. But please note: this only works with RC-paper; the baryta paper attach to this film is too strong. With baryta you have to use "low-adhesive-fim" for normal graphic design work. This attaches only slightly and can be removed without problem - but unfortunately costs a lot of money.
It is also wise to use adhesive film only where it is necessary to cover and cut with a scalpel (for example, the horizontal line) - the rest of the picture can be covered with old paper, of which a part is fixed underneath the foil.
Airbrush and accessories can be purchased for little money on the internet, where you can make good bargains. One should buy a small airbrush compressor for color work, which works better than big compressors and is also less noisy.
It is important to have a water separator between the compressor and air hose to the spray gun! (Can be retrofitted for little money)
I use spray guns from Iwata or Paasche. I use the same type of colors as for the brush technique. Dilution, pressure and amount of paint have to be tested out. If you want to work with solid colors, I recommend so-called Guache colors from the Schmincke company. But beware: the quality must be high and the best colors have the extension "Aero" - that means they are suitable for airbrushing. Inappropriate paints with too large particles clog the nozzle of the spray gun.
I always try to do airbrush work on the terrace, because a lot of paint particles fly around during the work. The technology is better suited for the basement than the coffee table ☺
For some "basics" to use the manual technique, I summarized the steps in a short video (in german, sorry) some time ago:
Here is an interesting video about a professional photo-colorizer and her work:
- The Colourist from Loading Docs on Vimeo.


 Webseite auf Deutsch
 Website in English
 Hemsida på svenska